
Table of Contents
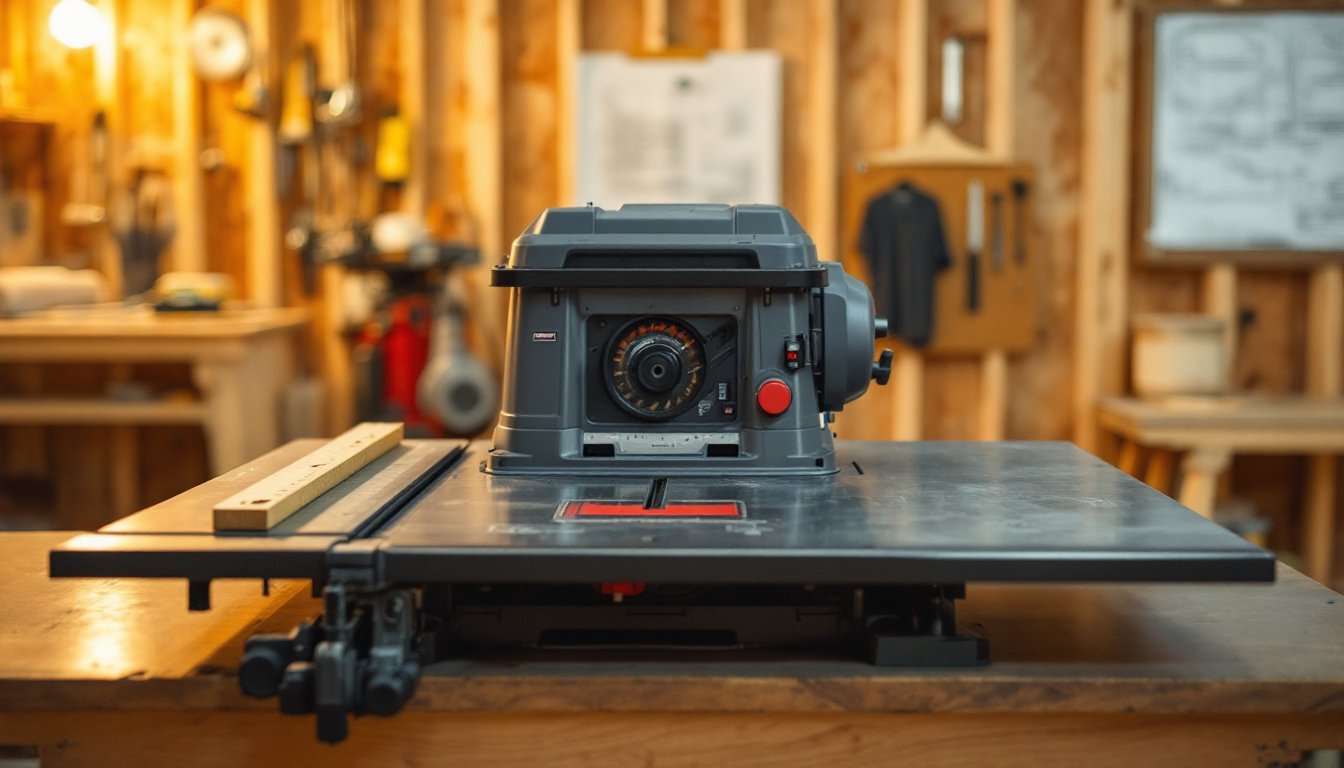
ToggleA 10-inch table saw sits at the sweet spot for home workshops, large enough to handle serious ripping and crosscutting, compact enough to fit in a garage or basement without demanding a dedicated room. The Craftsman 10 inch table saw has earned respect among DIY woodworkers for combining solid build quality with straightforward operation. Whether you’re building a deck, installing hardwood flooring, crafting furniture, or framing walls, this workhorse delivers the precision and reliability homeowners depend on. This guide walks you through setup, safety, technique, and maintenance so you get the most from your investment.
Key Takeaways
- A Craftsman 10 inch table saw combines portability with power, making it ideal for home workshops tackling deck building, furniture crafting, and renovation projects.
- Proper setup—including blade squaring, fence alignment, and runout checks—takes 1–2 hours but prevents costly material waste and ensures precision cuts.
- Always prioritize safety by wearing ANSI-rated eye protection, using guards and splitters, positioning yourself away from blade kickback, and unplugging before adjustments.
- Choose the right blade type and technique: rip blades for lengthwise cuts, crosscut sleds for perpendicular accuracy, and carbide-toothed blades for durability across hardwoods and softwoods.
- Regular maintenance—including blade sharpening, monthly table cleaning with machine oil, belt inspection, and motor vent clearing—extends your Craftsman 10 inch table saw’s lifespan and keeps it operating reliably.
Understanding the Craftsman 10 Inch Table Saw
A table saw is a stationary power tool that pulls wood across a rotating blade mounted beneath a flat table. Unlike handheld circular saws, the table saw holds the wood steady while the blade does the work, giving you better control, cleaner cuts, and repeatability across multiple pieces. The Craftsman 10 inch model refers to the diameter of the blade, which determines the maximum depth of cut (typically 3 to 3.5 inches at 90 degrees, less at angles).
The 10-inch size strikes a balance many home workshops prefer. It’s large enough for most trim, deck boards, and cabinet stock, yet small enough that you won’t need heavy reinforcement under your workbench. Compared to larger 12-inch cabinet saws used in professional shops, a 10-inch contractor or jobsite model is lighter, takes up less floor space, and costs significantly less. For homeowners tackling renovation projects, furniture builds, or regular yard work, this size delivers genuine value without overkill.
Craftsman saws typically feature induction motors (quieter, more durable) or universal motors (lighter weight). The motor drives a blade arbor, the shaft holding the blade, through a belt or direct-drive system. A rip fence guides wood parallel to the blade for lengthwise cuts, while a miter gauge slides in a slot for crosscuts at angles. These fundamentals remain consistent across models: what differs is build quality, motor power, and precision engineering.
Key Features and Specifications
When evaluating a Craftsman 10 inch table saw, focus on specifications that affect safety, accuracy, and longevity.
Motor Power and RPM: Most 10-inch Craftsman models run 1.5 to 2 HP motors at 4,800 RPM (revolutions per minute). This is sufficient for ripping hardwoods and softwoods without stalling, though thicker or denser material cuts slower. A more powerful motor can push through tougher work and handle repeated cuts without losing speed.
Blade Arbor and Runout: The arbor holds the blade precisely. Runout, how much the blade wobbles, should be under 0.005 inches (nearly imperceptible). High runout causes rough cuts and blade chatter: it’s a sign of wear or misalignment. Craftsman saws generally maintain tight tolerances, though older or heavily used units may drift.
Rip Fence: A good rip fence slides smoothly, locks square to the blade, and repeats measurements reliably. Craftsman’s aftermarket fences are affordable upgrades if the factory fence feels loose or imprecise. Vacuum ports on the fence and table help control sawdust, reducing cleanup and improving visibility.
Table Surface: Cast iron or steel tables resist rust and hold adjustments longer. Some newer models use hybrid materials to reduce weight. A flat, clean table is essential: even small warps throw off measurements.
Weight and Portability: Contractor-style Craftsman saws (the most common for home workshops) weigh 300–500 pounds. Jobsite or compact models weigh 200–300 pounds and often include fold-down legs or cart mounts for transport. If you plan to move the saw between projects, consider weight and handle design.
Setting Up Your Table Saw for Optimal Performance
Assembly and Installation Tips
Fresh out of the box, your Craftsman 10 inch table saw needs assembly and alignment before its first cut. Rushing this step is the quickest way to ruin accuracy and frustrate yourself.
1. Read the Manual: Not exciting, but the manual includes torque specs, part identification, and model-specific quirks. Craftsman manuals are usually available free online: download and skim before starting.
2. Assemble on a Flat Surface: A warped or uneven workbench will throw everything off. Ideally, assemble on a concrete floor or dead-level table.
3. Install the Blade Last: Most of the setup happens with no blade present. Secure the arbor nut firmly but don’t over-tighten: about 30 foot-pounds is standard (manufacturer specs vary, so check your manual).
4. Square the Blade: Use a carpenter’s square or blade-squaring tool placed against the arbor and table surface. The blade should be perpendicular to the table. Adjust the trunnion bolts (typically underneath) if the blade angles. This is non-negotiable: even 2 degrees off produces tapered cuts.
5. Check Runout: Spin the blade by hand slowly and watch how close it comes to a reference point (a pencil held just off the blade edge). Excessive runout usually means a warped blade or bearing wear: replace the blade or call a repair shop if runout exceeds specs.
6. Level the Miter Gauge Slot: The slot should be coplanar (level) with the table surface. This ensures crosscuts are truly perpendicular, not angled. Use a straightedge laid across the table and slot.
7. Fence Alignment: The rip fence should run parallel to the blade, not angled. Lock the fence in place and measure from the blade to the fence at the front and back of the table, distances must match within 1/16 inch. Adjust mounting bolts if needed.
Proper setup takes 1–2 hours but prevents hours of ruined stock and frustration later. Don’t skip it.
Essential Safety Practices and Precautions
A table saw is powerful and unforgiving. Respect it, and it’ll serve you for decades. Ignore safety, and you risk severe injury.
Wear Proper PPE: Always use ANSI Z87.1-rated safety glasses and hearing protection (table saws run around 85–90 dB, loud enough to cause hearing damage over time). For dusty work, a dust mask or respirator prevents inhaling fine sawdust, which irritates lungs. Avoid loose sleeves, jewelry, or gloves near the blade: they can catch and pull you toward the blade.
Use Guards and Blade Covers: A blade guard covers the top of the blade and includes a splitter, a thin metal plate behind the blade that prevents stock from binding and kicking back. Modern guards are easier to remove and reinstall than older designs. Use yours for every cut except dado or molding operations that absolutely require blade exposure. Even then, keep your hands clear of the blade’s path.
Stand Safely: Position yourself slightly to one side of the blade, not directly behind it. If the stock kicks back, it travels along the blade’s path, not toward you. Never reach over a running blade, and don’t remove scrap or cutoffs while the blade spins, wait for it to stop completely.
Check for Nails and Foreign Objects: A nail or metal staple hit at speed can break the blade or shoot debris at high velocity. Inspect stock visually and run your hand over the surface before cutting.
Use Featherboards and Push Blocks: For narrow rips or short crosscuts, a featherboard (a shop-made or store-bought hold-down with curved fingers) keeps stock flat and moving forward without your hand near the blade. A push block extends your reach when the remaining stock becomes too small to safely handle. Professional woodworkers and serious DIYers standardize these tools because they work.
Never Freehand Large or Heavy Stock: Table saws are built for controlled, measured cuts. Stock that’s too large, too heavy, or too awkward to safely maneuver should go to a professional shop with bigger equipment.
Unplug Before Adjustments: Any time you adjust the blade height, fence, or miter gauge, or change blades, unplug the saw. No exceptions.
Common Cuts and Techniques for Home Projects
Once your Craftsman 10 inch table saw is set up and you’re comfortable with safety, you’ll tackle three main cuts: rips, crosscuts, and angle cuts.
Rip Cuts: A rip is a lengthwise cut parallel to the grain. Lock your rip fence at the desired width, feed the stock smoothly toward the blade, and let the saw do the work. Don’t force the wood: if it binds or stalls, the motor can’t keep up, reduce feed speed or check that the blade is sharp. For typical home projects (deck boards, cabinet sides, trim), rip cuts are your bread and butter. A sharp carbide-toothed blade designed for ripping (fewer, larger teeth) cuts faster and smoother than a general-purpose blade.
Crosscuts: Crosscuts go against the grain and use the miter gauge, not the rip fence. Secure the stock against the gauge and slide everything toward the blade in one smooth motion. For precision crosscuts on wide boards, a crosscut sled (a shop-made jig) is safer and more accurate than the miter gauge alone. Many home workshop setups benefit from a dedicated miter saw for crosscuts: table saws are powerful at crosscutting but the miter saw excels at repeatability and clean miters.
Angle and Bevel Cuts: Tilt the blade or rotate the miter gauge to cut 45-degree angles (common in trim, cabinet doors, and framing). Miter cuts require careful measurement and a sharp blade to avoid chipping hardwood edges. Beveled cuts (tilted rips) are common when building roof frames or angled furniture: they’re straightforward as long as the blade angle is locked and repeatable.
Dado Cuts: A dado is a wide groove cut partway across the wood, commonly used in shelving or furniture joinery. A standard blade is too thin: most woodworkers use a stacked dado blade set (multiple thin blades and chippers that together cut widths from 1/8 inch to 13/16 inch). The tradeoff is that guard and splitter removal is usually required, so focus and setup become even more critical. Always test dado width on scrap first.
Material Specifics: Softwoods like pine and spruce cut quickly: hardwoods like oak demand a sharp blade and steady feed. Plywood requires a blade designed to minimize chip-out (fine teeth, high tooth count). Pressure-treated lumber dulls blades faster due to preservative chemicals, so budget for sharper blades or send them out for sharpening more often.
Maintenance and Care for Long-Term Durability
A Craftsman 10 inch table saw properly maintained will outlive most shop tools. Neglect, and it becomes a frustrating paperweight.
Blade Care: Change or sharpen blades when they dull. A dull blade requires more force, heats up the wood (risking burn marks and warping), and produces rough edges. Professional sharpening costs $10–20 per blade and is worthwhile for good blades. For budget builds or utility work, replace with a new blade ($15–40, depending on quality). Store blades flat or in a blade case to prevent warping.
Table and Fence Cleaning: Sawdust mixed with moisture creates a gummy residue that attracts more dust and affects accuracy. Once a month, wipe the table and fence with a dry cloth, then apply a light machine oil or paste wax (furniture polish or automotive wax works in a pinch). This repels moisture and makes stock glide smoothly. Avoid spray silicone: it accumulates and can make the blade slip.
Belt and Pulley Inspection: If your saw has a belt drive, inspect belts annually for fraying or cracks. A fraying belt slips and reduces torque: replace it ($15–30 and 30 minutes of work). Pulleys should spin freely: a squealing pulley often indicates a bearing that needs grease or replacement.
Arbor Nut Inspection: Over time and with vibration, the arbor nut can loosen slightly. Check it monthly by turning off and unplugging the saw, then carefully trying to wiggle the blade. Any movement means the nut needs tightening.
Motor and Housing: Keep air vents clear of sawdust. A clogged motor overheats and fails prematurely. Use a brush or compressed air monthly, especially if you cut dusty materials like MDF or particle board. Store the saw indoors or under a cover: rust on cast iron tables is slow but will degrade accuracy over years.
Regular Use: Ironically, a saw that sits unused deteriorates faster. Light use keeps belts flexible and bearings lubricated. If your Craftsman 10 inch table saw will sit idle for months, spin the blade by hand quarterly and run the motor unloaded for 30 seconds to circulate lubricant.