
Table of Contents
ToggleYour refrigerator is working around the clock to keep food fresh, but how do you know it’s actually doing its job? Most people assume their fridge is at the right temperature, yet unsafe conditions can develop silently, spoiling food or creating food safety hazards. A refrigerator thermometer solves this blindspot. Whether you’re managing a full household, running a small catering operation, or simply want to cut down on food waste, a reliable thermometer gives you visibility into one of the most important appliances in your home. This guide walks you through why these tools matter, how they work, which type fits your situation, and how to get accurate readings every time.
Key Takeaways
- A refrigerator thermometer is essential because built-in thermostats often drift over time, allowing unsafe temperatures above the USDA’s safe 40°F standard, which can cause bacteria growth and food spoilage.
- Analog thermometers offer simple, battery-free reliability for $5–$15, while digital models provide precision and max/min tracking for $15–$35, making them ideal for most households checking fridge temperature weekly.
- Place your thermometer on the middle shelf away from walls and the door, wait 24 hours for acclimation, and check readings at the same time daily for 3–5 days to spot temperature fluctuations or drift issues.
- Weekly thermometer checks take only 10 seconds and catch temperature problems early; recalibrate every 1–2 years against a known reference like ice water to ensure continued accuracy.
- Smart and wireless refrigerator thermometers ($30–$60+) with app alerts work best for managing multiple fridges or remote properties, but require careful research to verify app reliability and performance.
Why You Need A Refrigerator Thermometer
Your fridge’s built-in thermostat controls temperature, but it doesn’t always report it accurately. Many home refrigerators develop temperature drift over time, a unit that was calibrated at 40°F when new might drift to 44°F or colder after a few years of use. That gap matters. The USDA safe food storage temperature is 40°F (4°C) or below. Even a few degrees warmer creates a window where bacteria like Listeria and Salmonella can multiply to unsafe levels, especially in high-moisture foods like deli meats, soft cheeses, and cooked leftovers.
Food waste is another real cost. Frost buildup, door seals degrading, or a thermostat miscalibration can cause your fridge to run too cold, freezing produce before you can use it. A thermometer lets you catch these issues before they trash your grocery budget. You’ll also know whether your fridge is truly maintaining food safely during power outages, a critical detail for families with young children or elderly members.
How Refrigerator Thermometers Work
All thermometers measure temperature, but the mechanism varies. Analog thermometers rely on liquid (usually alcohol, not mercury in modern units) sealed in a glass tube. As the temperature changes, the liquid expands or contracts, and you read the temperature off a printed scale. It’s simple, passive, and requires no batteries or calibration.
Digital thermometers use a temperature-sensing element, typically a thermistor or resistance temperature detector (RTD), that changes electrical resistance as temperature shifts. A small electronic display converts that resistance into a numerical readout. Digital models are more precise and often include features like a maximum/minimum temperature log, which helps you spot fluctuations you might otherwise miss.
Smart and wireless thermometers take it further. They use Bluetooth or WiFi to send temperature data to your phone, and many log readings over time so you can spot patterns. Some integrate with smart home systems. The trade-off is battery dependence, app reliability, and a higher upfront cost. For a typical homeowner, a good digital or analog thermometer works fine: smart options shine if you’re managing multiple refrigerators or need remote alerts.
Types of Refrigerator Thermometers
Analog vs. Digital Thermometers
Analog thermometers are bulky but bulletproof. You’ll spend $5–$15 for a solid glass-tube model. They don’t need batteries, won’t malfunction due to software bugs, and can survive a knock or two. The downside: you have to walk over and look at it, and readings aren’t as fine-tuned (usually ±2°F accuracy). They’re ideal if you check your fridge temperature once a week and prefer zero-hassle reliability.
Digital thermometers offer precision (typically ±1°F) and often include a max/min memory function. A mid-range model costs $15–$35 and runs on a single AAA battery for 1–2 years. Some have a probe on a cable, letting you measure multiple zones (top shelf, bottom shelf, door). The LCD display is easy to read, and you get numeric values rather than guessing between scale marks. Downside: if the battery dies, you lose the display until you replace it, though the probe itself still measures temperature.
Smart and Wireless Options
Smart and wireless thermometers ($30–$60+) pair with a smartphone app and alert you if the temperature drifts outside your range. Some models use Bluetooth (range: ~30 feet), while others connect via WiFi for true remote access. They’re excellent if you own a second fridge in a garage or rental property, live far from a second home, or need detailed temperature logs for food service compliance.
One caveat: app stability matters. A thermometer is only useful if you trust its readings, and some cheaper smart models have reliability issues. Premium options from established kitchen brands tend to perform better. Research reviews carefully if you’re considering this route, don’t assume the fanciest option is the most reliable.
How to Install and Use Your Thermometer
Installation is straightforward, there’s no wiring or permanent fixture involved. Here’s the practical method:
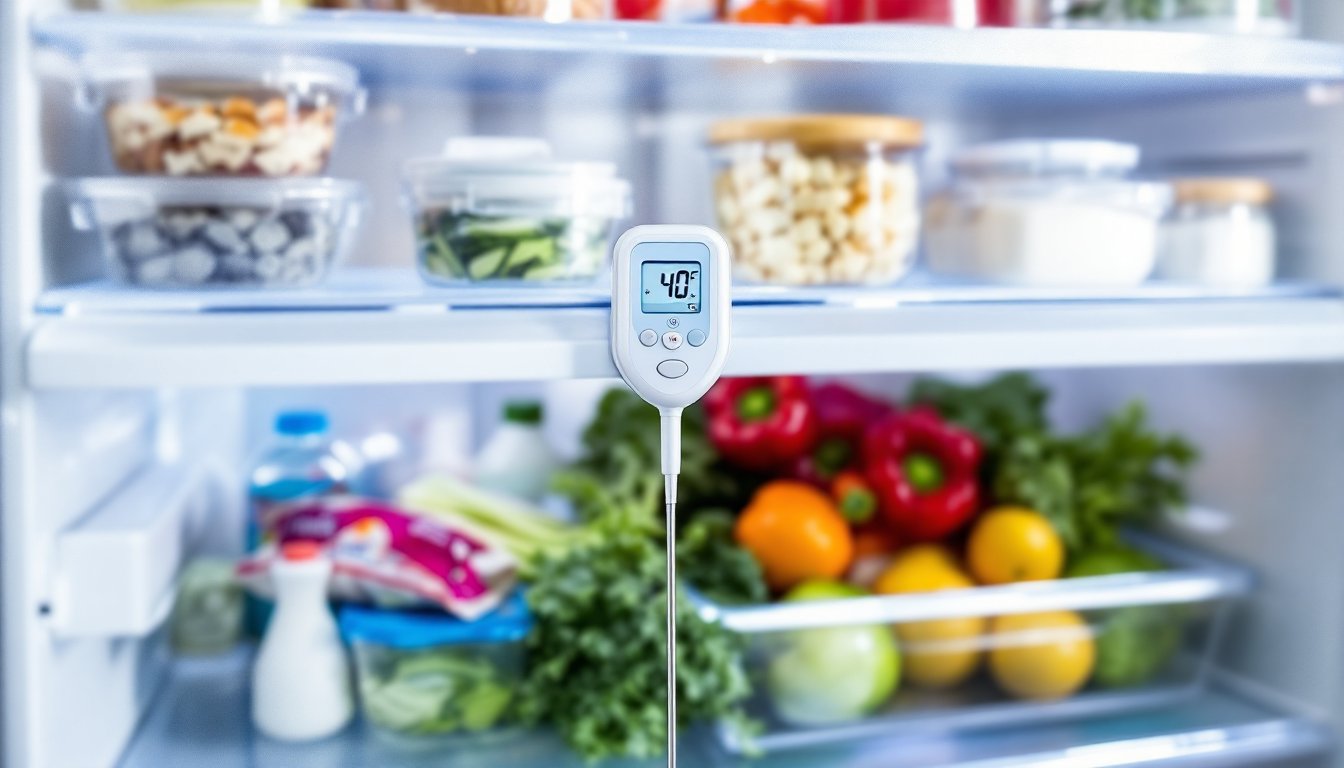
Step 1: Choose Your Placement. The center of your fridge is ideal because it reflects the average temperature. Avoid the door (warmest zone), direct contact with cold walls, or the back of shelves where air circulation is poor. Place the thermometer on the middle shelf, away from the back, so it’s not touching the cold coils.
Step 2: Let It Acclimate. After placing the thermometer, wait 24 hours before taking a reading. This lets the unit stabilize to the actual interior temperature. If you install it and check it immediately, you’ll get a false reading.
Step 3: Check for Accuracy. Read the thermometer at eye level to avoid parallax error (reading from an angle). Write down the temperature. Do this at the same time each day for 3–5 days to see if there’s drift. Fluctuations of ±2°F are normal and acceptable: larger swings suggest a thermostat problem or a door seal leak.
For Smart/Wireless Models: Follow the pairing instructions carefully. Most pair via Bluetooth to an app on your phone. Once connected, verify that readings match a second analog thermometer for validation. Set your alert threshold to 40°F (or 39°F as a buffer) so the app notifies you if the fridge creeps warmer than safe.
Research shows that expert-tested refrigerator thermometers consistently outperform generic models, so if you’re unsure which brand to pick, reading third-party reviews saves headaches.
Maintaining Accurate Temperature Readings
A thermometer is only as good as your discipline in using it. Here’s how to keep readings reliable and your fridge operating safely.
Check the thermometer weekly. It only takes 10 seconds, and weekly checks catch problems early. Keep a small log in your kitchen (a sticky note on the fridge works) with the date and temperature. After a few weeks, you’ll spot patterns and know whether your fridge is stable.
Recalibrate periodically. Analog thermometers can drift, and digital sensors lose accuracy over time. Every 1–2 years, compare your fridge thermometer to a known-good reference. You can use an ice bath (a glass of ice water sits at 32°F) or a body thermometer (98.6°F under the arm is close enough) to spot-check. If there’s a significant gap, replace the thermometer, it’s cheaper than spoiled food.
Clean around the thermometer. Dust and spilled food can insulate it, giving artificially high readings. Wipe the area around it monthly with a damp cloth.
Monitor door seals. A cracked or degraded door gasket lets warm air in, raising internal temperature. If your thermometer reads consistently warm even after cleaning, inspect the seal. It’s usually a $20–$80 replacement part, much cheaper than a new fridge and a worthwhile DIY fix if you’re handy.
Watch for frost buildup. Excessive frost on the back wall or coils blocks air circulation and drives temperature up. Defrost manually or use the auto-defrost cycle if your fridge has one. Most do, check your manual if you’re unsure.
Keeping your fridge organized helps too. Cramming it full or blocking vents forces the cooling system to work harder and creates dead zones. A well-organized kitchen with proper fridge placement and maintenance runs more efficiently, and your thermometer readings will be more stable.